By ALDONA BIRD
Newsroom@DominionPost.com
With summer approaching, now is the perfect time to gather supplies and prepare for herb-drying season.
You can harvest herbs any time, but many folk traditions specify times of the year such as between summer solstice and Aug. 15 as ideal times for peak potency. Herbs should typically be picked before they flower (unless you are harvesting blooms) in the morning after the dew dries.
Whether harvesting wild or cultivated herbs, for medicinal or culinary uses, a system to properly dry the plants is essential.
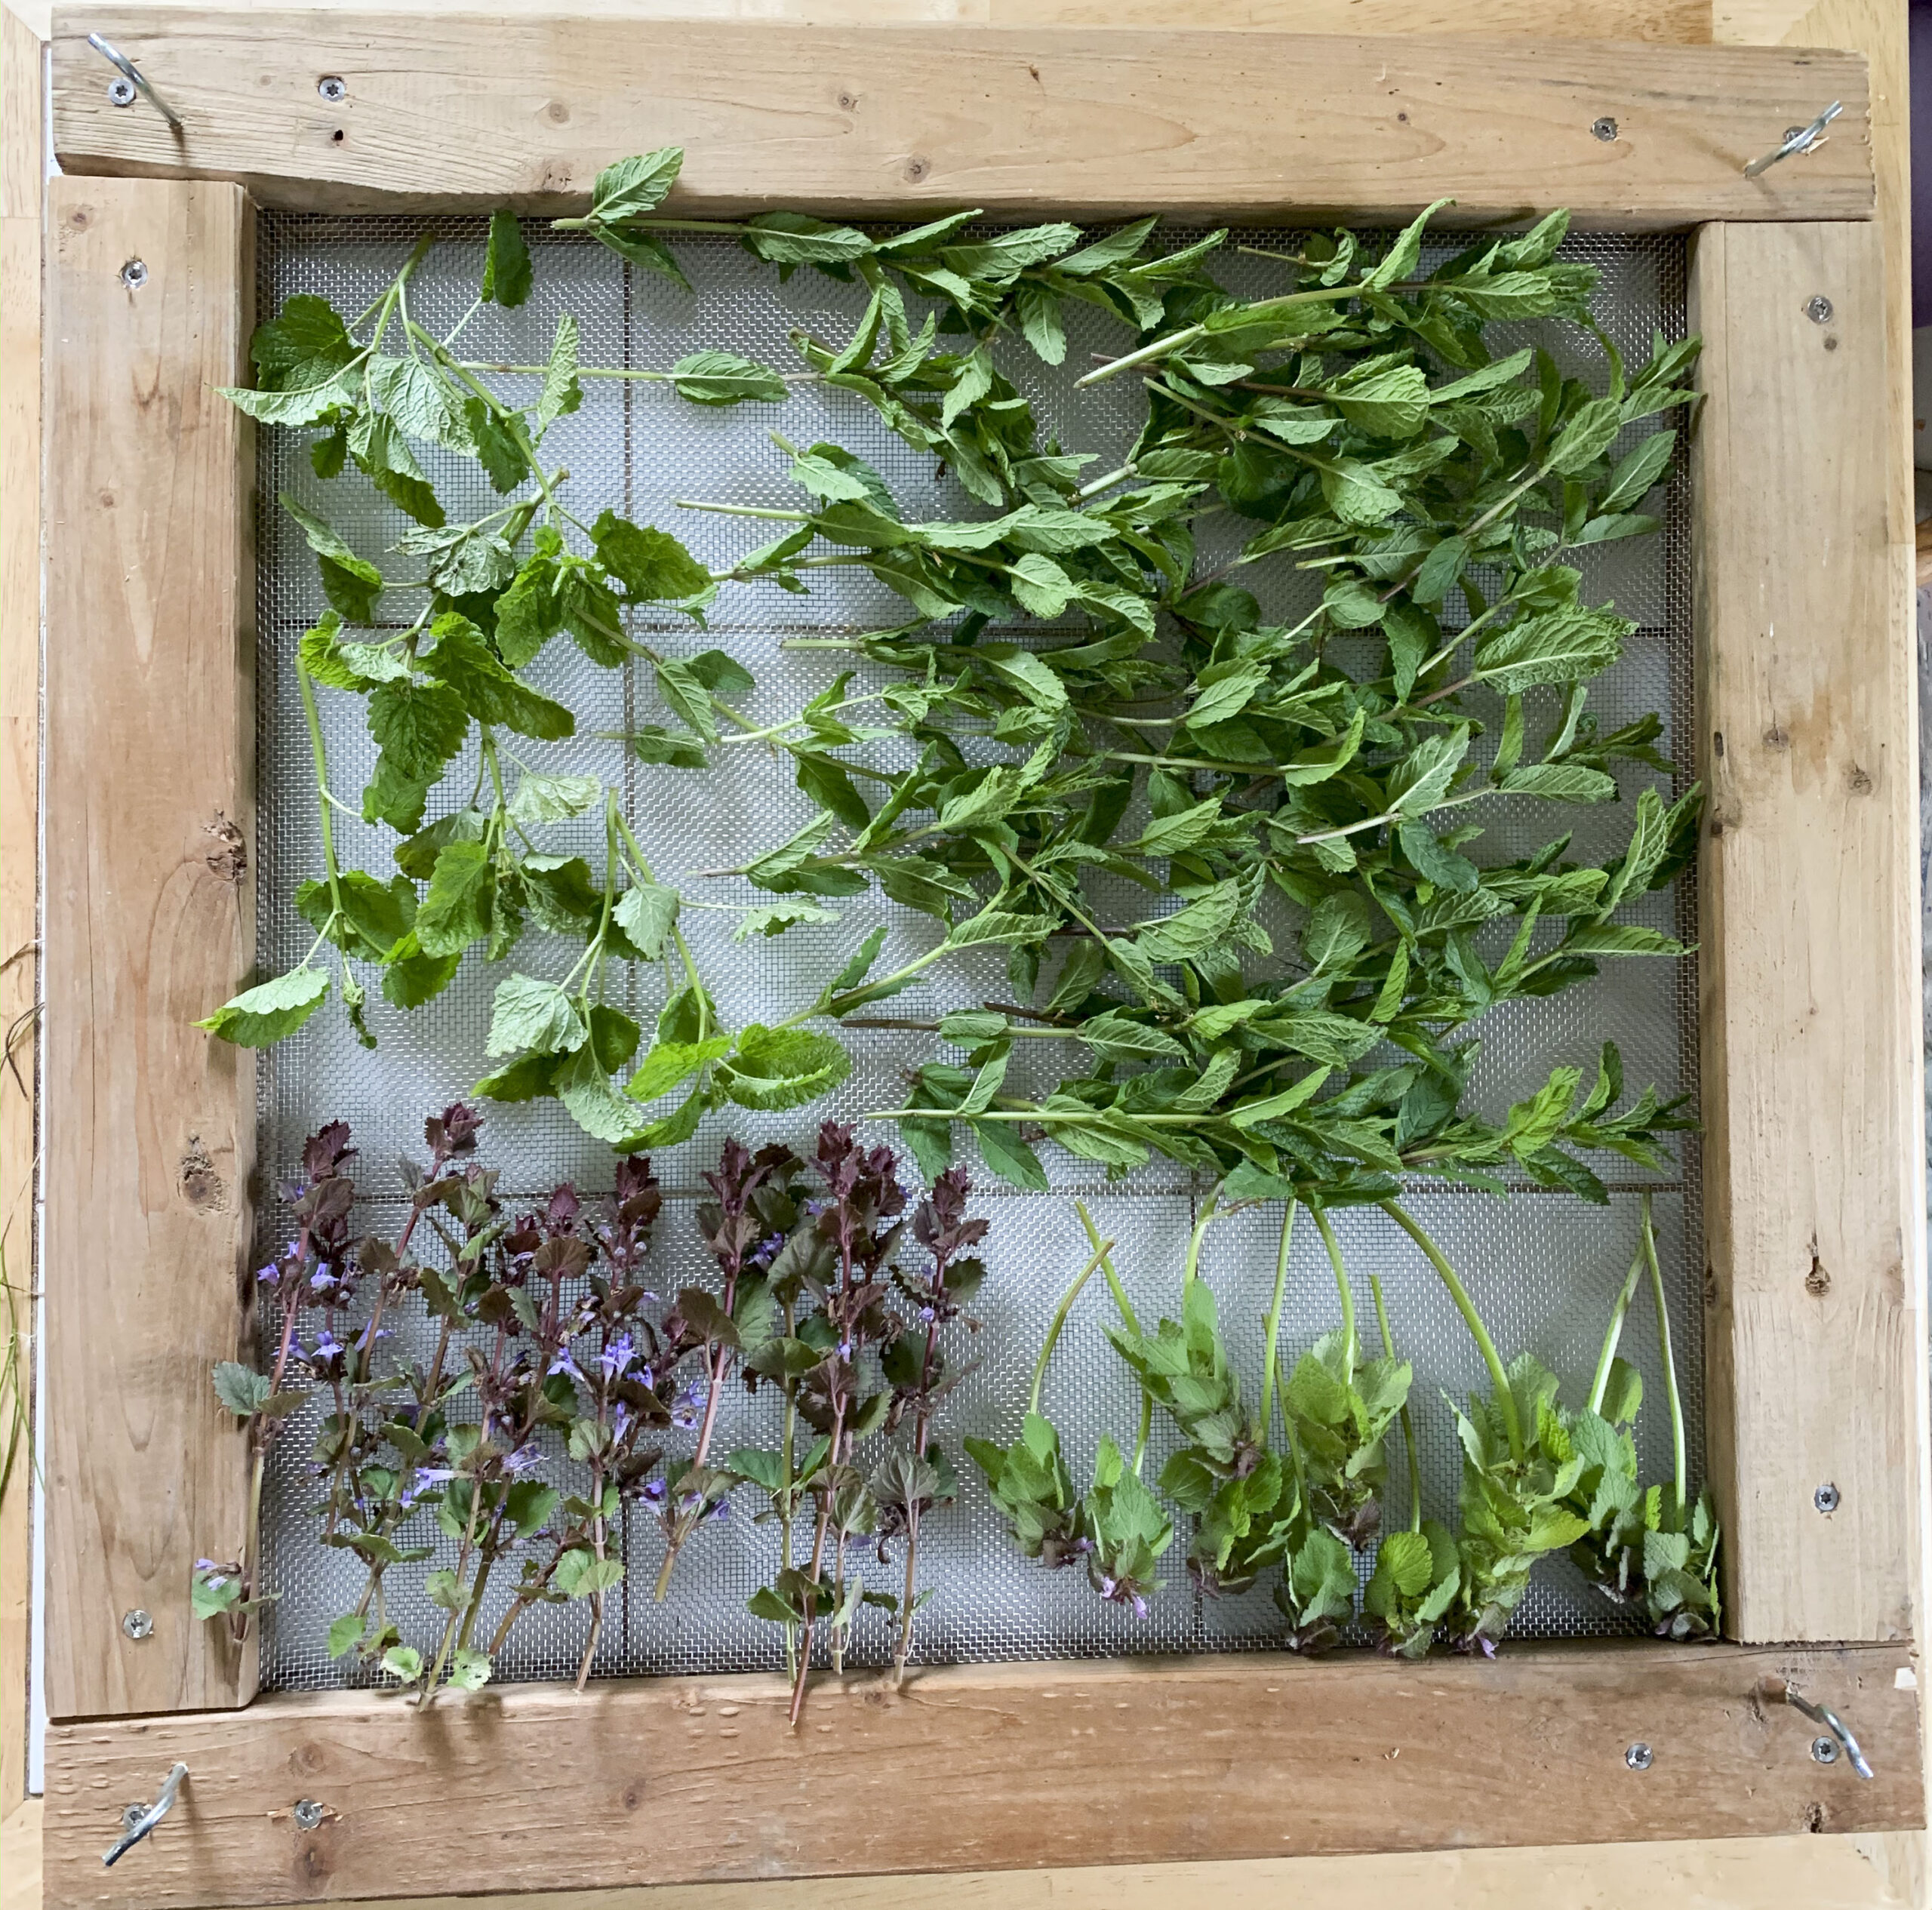
There are several methods for drying herbs — air, oven and using a dehydrator. Air drying is a time-tested and reliable method as well as being the simplest. All you have to do is keep the herbs out of direct sunlight and make sure air can circulate around them (to prevent molding).
An herb-drying rack is a convenient way to go about preserving your herbs. It is also a customizable DIY project, so you can have a rack that fits perfectly in your space.
To make an herb-drying rack, you will need:
- wood or wooden picture frame
- window screen, muslin or other cloth or screen material
- nails and hammer
- heavy duty staples and stapler
- chains (optional)
Determine the size drying rack you prefer.
If you don’t have specific dimensional needs, you can use a wooden picture frame with the glass and cardboard backing removed as a frame for your drying rack.
If you have a cabinet or other specific place you plan to dry your herbs in, measure it. Cut your wood to the length and width you need. Do not use treated wood for this project; unfinished wood is best as pressure treatments and paints can contain toxins that should not be in contact with food.
Secure your frame together with wood glue or nails. You may chose to cut mitered corners of your frame at 45-degree angles and abut them on the diagonal. In this case, use wood glue and let dry for 24 hours or the recommended time per the glue directions.
Alternatively, you can cut the corners straight, and butt the short edge of one to the side or bottom of the next board. Use corner brackets to secure, or create a double frame, sandwiching the screen in the middle.
If you don’t have scrap wood handy, consider using branches from trees. If they are relatively straight, they can be used to make a frame.
Once your frame is assembled, secure window screening or taut muslin across it. Heavy-duty staples easily secure screening material to frame.
For extra drying space make multiple racks and connect them with chain or rope so they hang in a stacked position. Leave enough space between racks so you can easily reach in and lay herbs out or gather them up.
To use the rack, lay freshly harvested herbs on the screen. Don’t pile herbs thickly, as they may mold. Hang or place the rack in an area without direct sunlight, but good air circulation.
After a few days, the herbs should be dry enough to store. To test for readiness, try crumbling a leaf. If it falls apart easily, it is dry. Store in an air-tight container out of direct sunlight.
TWEET @DominionPostWV


