By ALDONA BIRD
Newsroom@DominionPost.com
October is upon us, bringing pumpkin spice, pumpkin soup, pumpkin rolls, Halloween, and fall décor. It is time to look up recipes, plan a spooky night for the end of the month, and decorate your home in an autumn theme.
Fall décor can be expensive and unexcitingly generic. For a personalized custom DIY display you will only need a few materials and basic sewing skills.
To make DIY cloth pumpkins you will need:
- A choice of fabrics
- Needle and thread
- Extra (strong) thread or string, to match fabric
- Scissors
- Stuffing or fabric scraps for stuffing
- Sticks and paint or winter squash stems
Pick a set of complimentary fabrics for your cloth pumpkins. Using velvet can make your display look lush. Sweater fabric can look very stylized, flannel will create a cozy seasonal look and patterned cotton fabric can add a funky flare.
Mix and match fabric colors, types and patterns to achieve a look you like. You don’t have to stick to an autumn palette — a variety of colors can look just as festive and unique.
Cut a rectangle of fabric 12 inches by six inches to start, and then you can make additional pumpkins larger or smaller — if you make the rectangle longer but not taller you’ll have a flatter pumpkin.
Sew the shorter ends of the rectangle together. Alternatively you can upcycle old clothing, and cut a section of a shirt or sweater sleeve to get a rectangle already sewn together at the ends.
If you are cutting out of a flat piece of fabric try cutting on the bias by placing the rectangle on the diagonal of the fabric. This will give it a little stretch, making it mold more naturally around the stuffing.
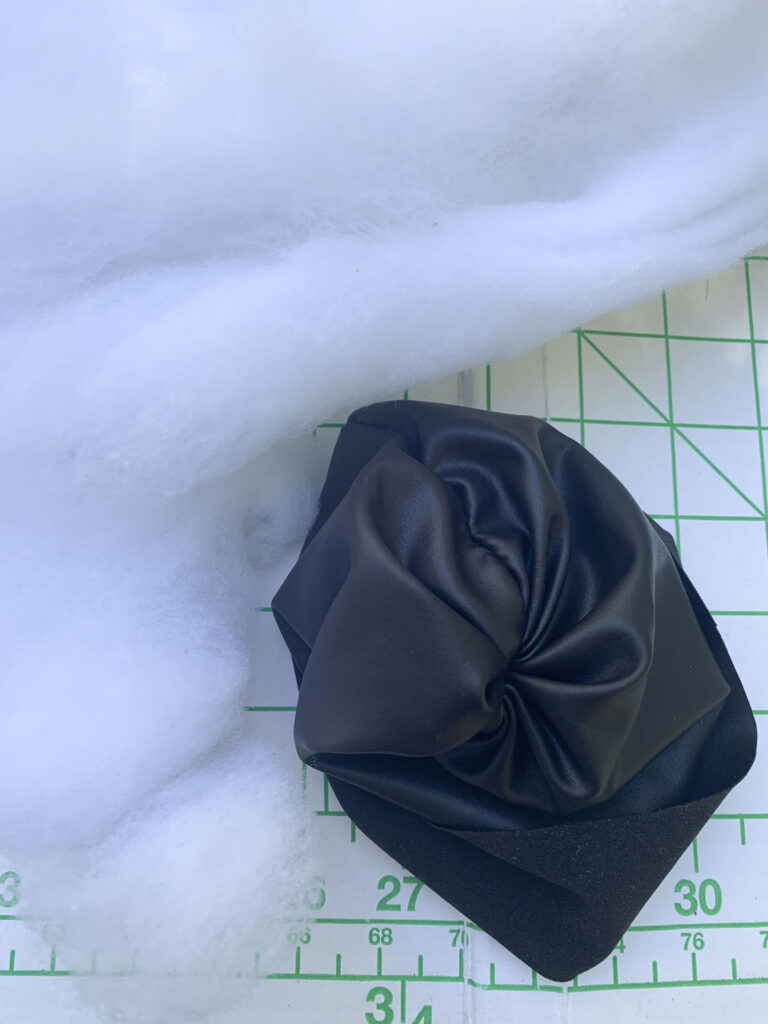
Turn the circle of fabric inside out, and gather one open end of it by running a needle in and out every half an inch (roughly, this does not have to be exact) all the way around, about a quarter of an inch from the edge.
Gather this side by pulling the thread tight. Sew across the gathered fabric to secure it.
Turn the project right side out, and stuff it. You can use polyester stuffing, or you can repurpose stuffing from a worn out pillow or stuffed animal toy. Alternatively you can use fabric scraps as stuffing.
Gather the open edge in the same way you did the previous side. Pull it tight, and tuck the edges inside the stuffed project. Stitched carefully to secure the gathered fabric while keeping stitched from being too obvious.
You can use either side as the top. If you so choose you can cut a circle of cardboard a bit smaller than the bottom of the stuffed pumpkin and cover it in matching fabric. Set this aside to cover the bottom with after the next step.

Using strong thread or string or yarn and a needle with a large eye create the pumpkin segments. Do so by sewing through the center of the pumpkin (you will have to squish it to make the needle reach through), looping it over the outside and on the next pass through pulling it tight.
Repeat until you have enough segments (roughly equally spaced). Tie the thread or yarn tightly off.
If you created a base for the pumpkin hot glue it on now.
Add a stem to the pumpkin by hot glueing a small section of a tree branch or the stem of a winter squash on to the top. You can paint (any color or glitter) the branch to match or contrast with your fabrics.
This is a great project with which to practice your own sewing skills or to teach a child.
You can make a set up pumpkins to stand alone, or to complete a display with candles and other decorations.
TWEET @DominionPostWV


