By Aldona Bird
Newsroom@DominionPost.com
We have brooms to help keep our homes, porches, walkways and other spaces clean. Usually after use these tools are tucked away out of sight.
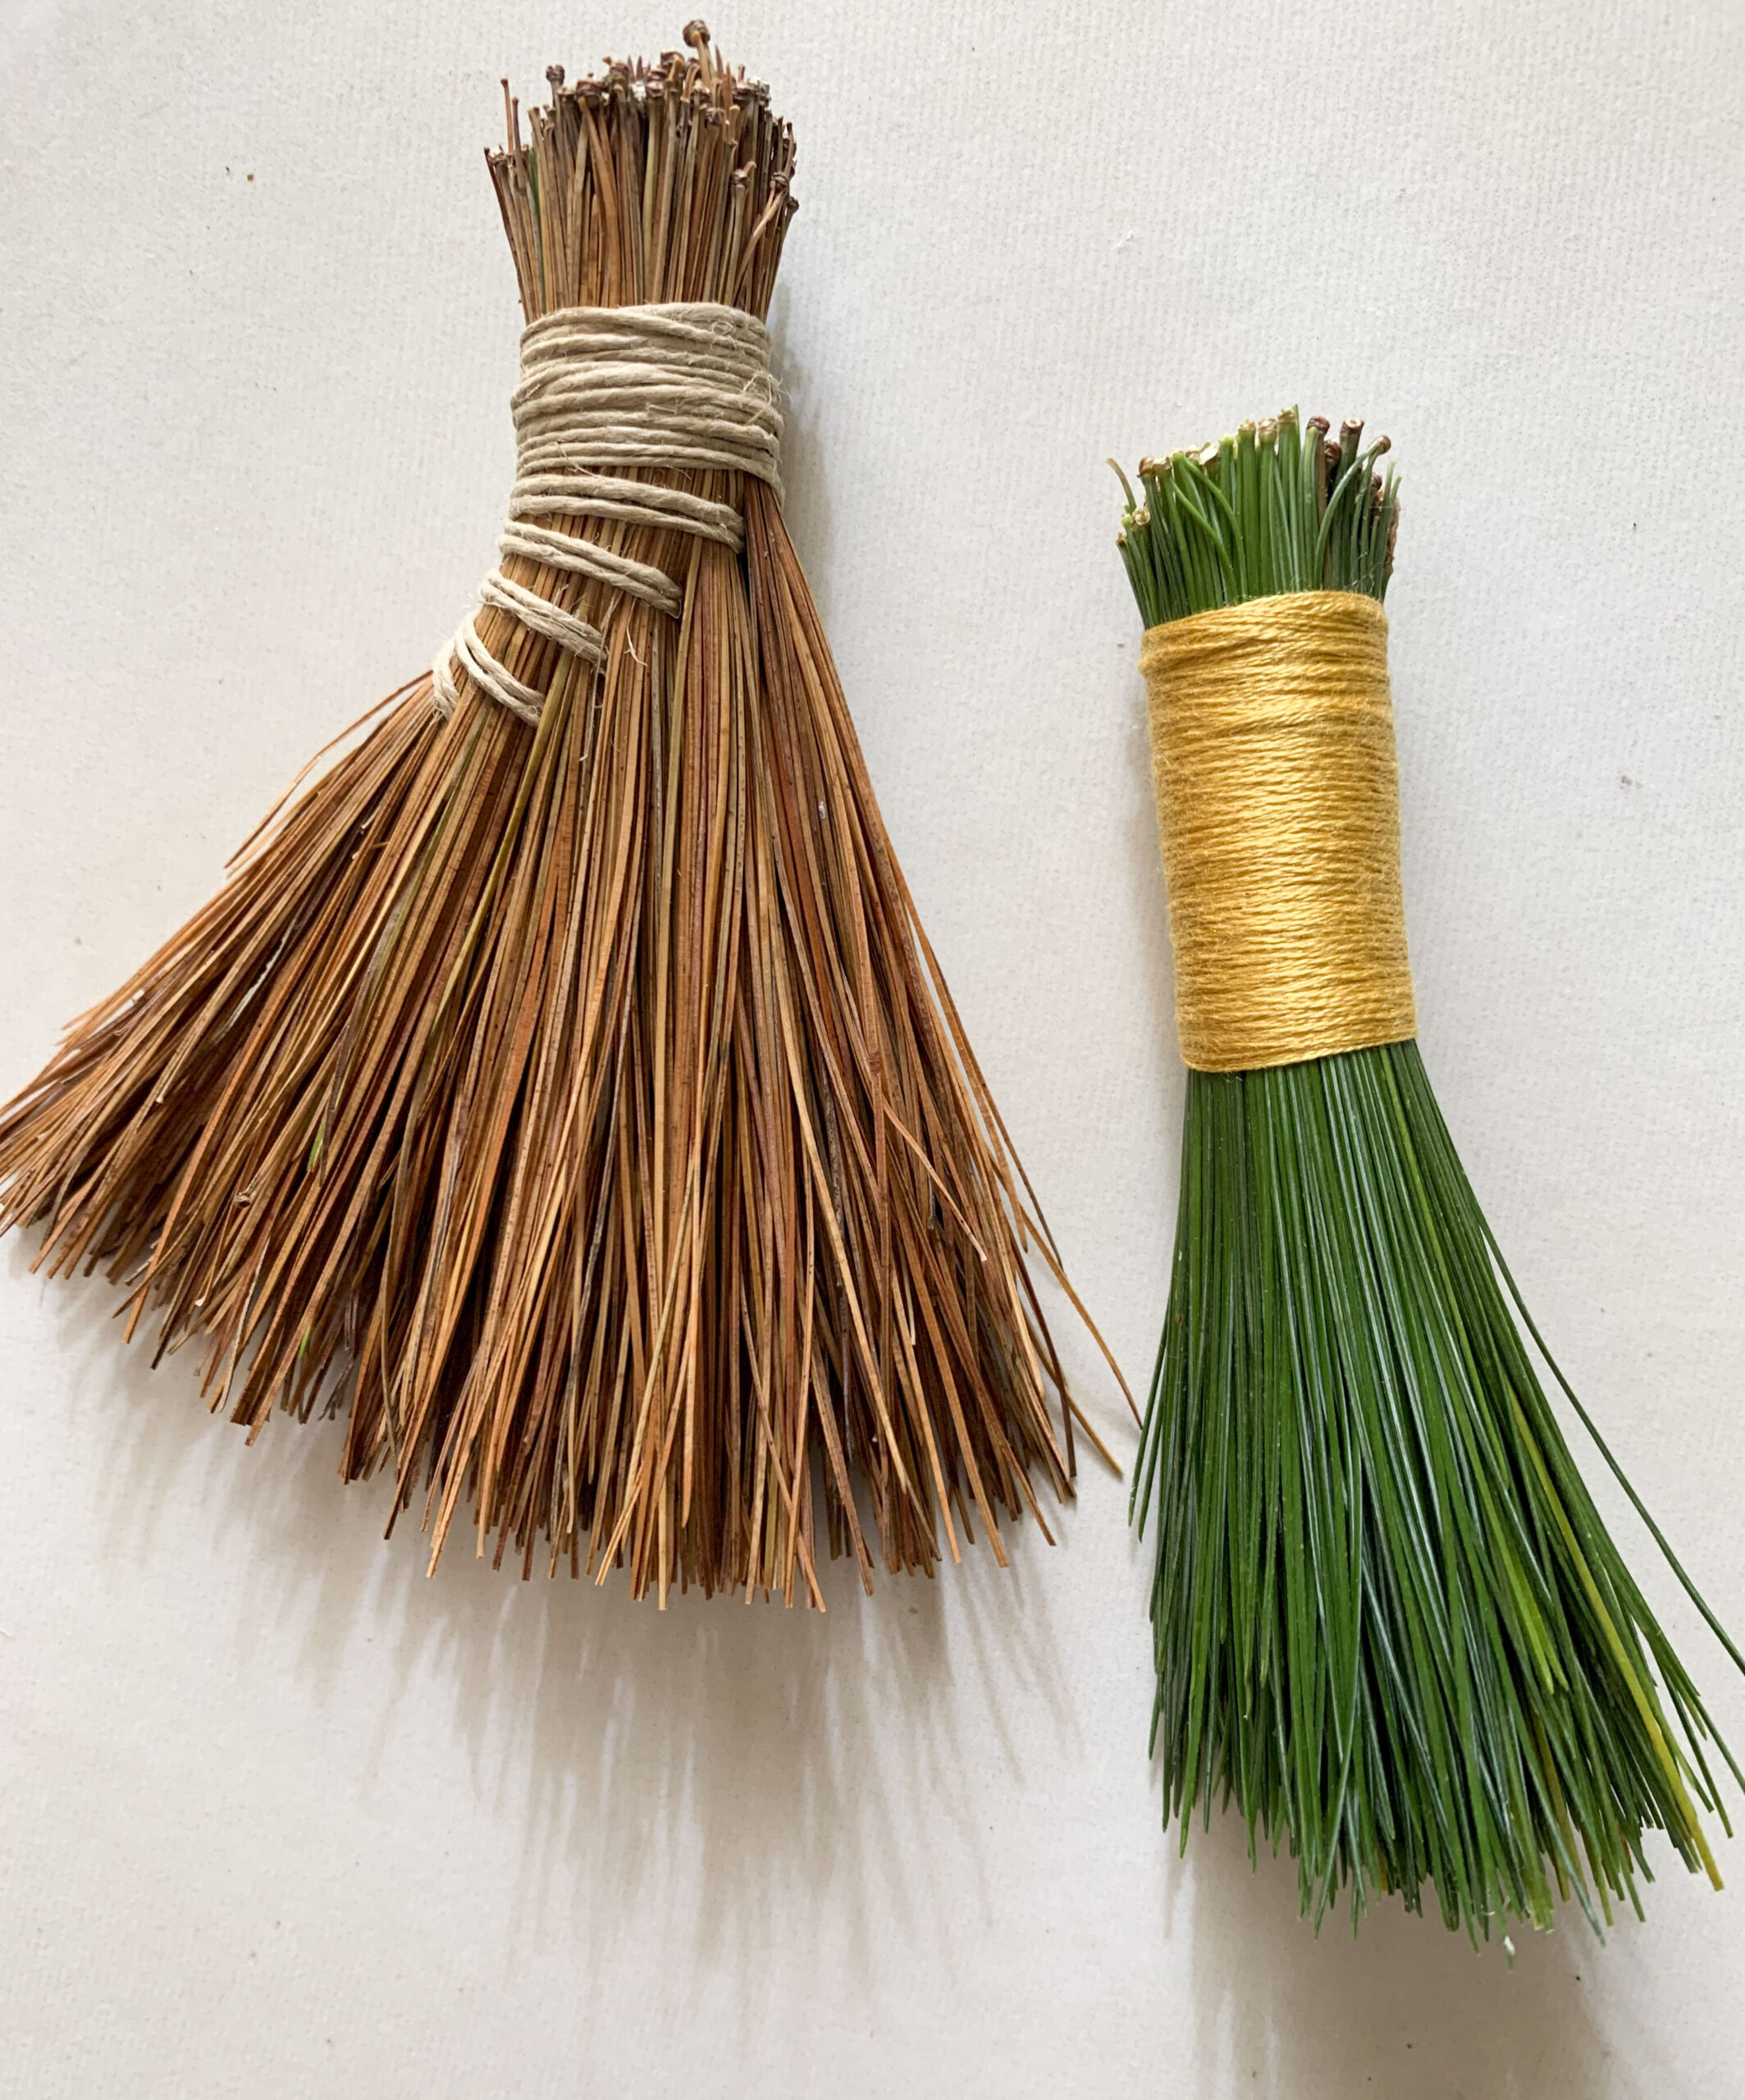
But brooms don’t have to be for function only — with a few simple items you can make a broom which is both functional and decorative.
To make DIY pine needle brooms, you’ll need:
- Long pine needles (dry or green)
- Twine or thread
- Scissors
First collect your pine needles. The longer the better. Shorter than three inches won’t work for a functional broom, but would work for a dollhouse broom.
If needles are still on the branch gently pull them off. Groups of needles still attached to the nub on the end are best, but loose needles can work as well.
Green needles can be used, but keep in mind that they will shrink as they dry, and are likely to fall apart in a few weeks. So make green needle brooms primarily for decorative value.
Create a bundle of needles with the ends lined up. Pick up the bundle in one hand and gentle tap it against the other to help the needles settle evenly.
Wrap your twine or thick thread (such as embroidery thread, not separated by strand) around about half an inch from the top and create a secure knot.
Tightly wind your twine around the bundle — keep each wrap of twine snug against the last, so there is no space in between.
For a minimalist look, continue tightly wrapping until you are halfway down the length of the needles. Make another secure knot. If you have a sewing or darning needle that fits your twine or thread, use it to tuck the twine back up into the handle. This will give it extra security from coming undone.
To make a fancier style broom begin the same way. Instead of wrapping half way down the needles, stop after about an inch.
Separate a clump of needles on one side, and omit those from the next twine wrap (or even two wraps).
Separate a larger clump on the same side, and repeat the wraps. Continue this until you have just a small group of pine needles to wrap on the opposite side of where you started.
You can use this same technique, but leave out small sections on both sides of the broom, working towards the middle. This will give you a triangle design.
Trim the ends of the needles to even the bottom of the broom.
Add a small handle to any of these designs by putting a stick in the middle of a small bundle before you begin. Wrap a few times, then add needles to the bundle and wrap again. Continue adding until you have the broom size you want.
Brooms can be made out of broom corn and other natural materials.
With the holidays approaching keep this DIY in mind. It is a great activity to do while enjoying a warm beverage, and once winter hits these hand brooms will add modest decoration to any space.
TWEET @DominionPostWV


