By ALDONA BIRD
Newsroom@DominionPost.com
If you are giving your mother a bouquet of flowers today, or celebrating her by spending some time together outdoors, consider DIY eco-printing. If you don’t share a household with your mom, this is a social-distancing friendly activity and a way to preserve seasonal color and memories with loved ones.
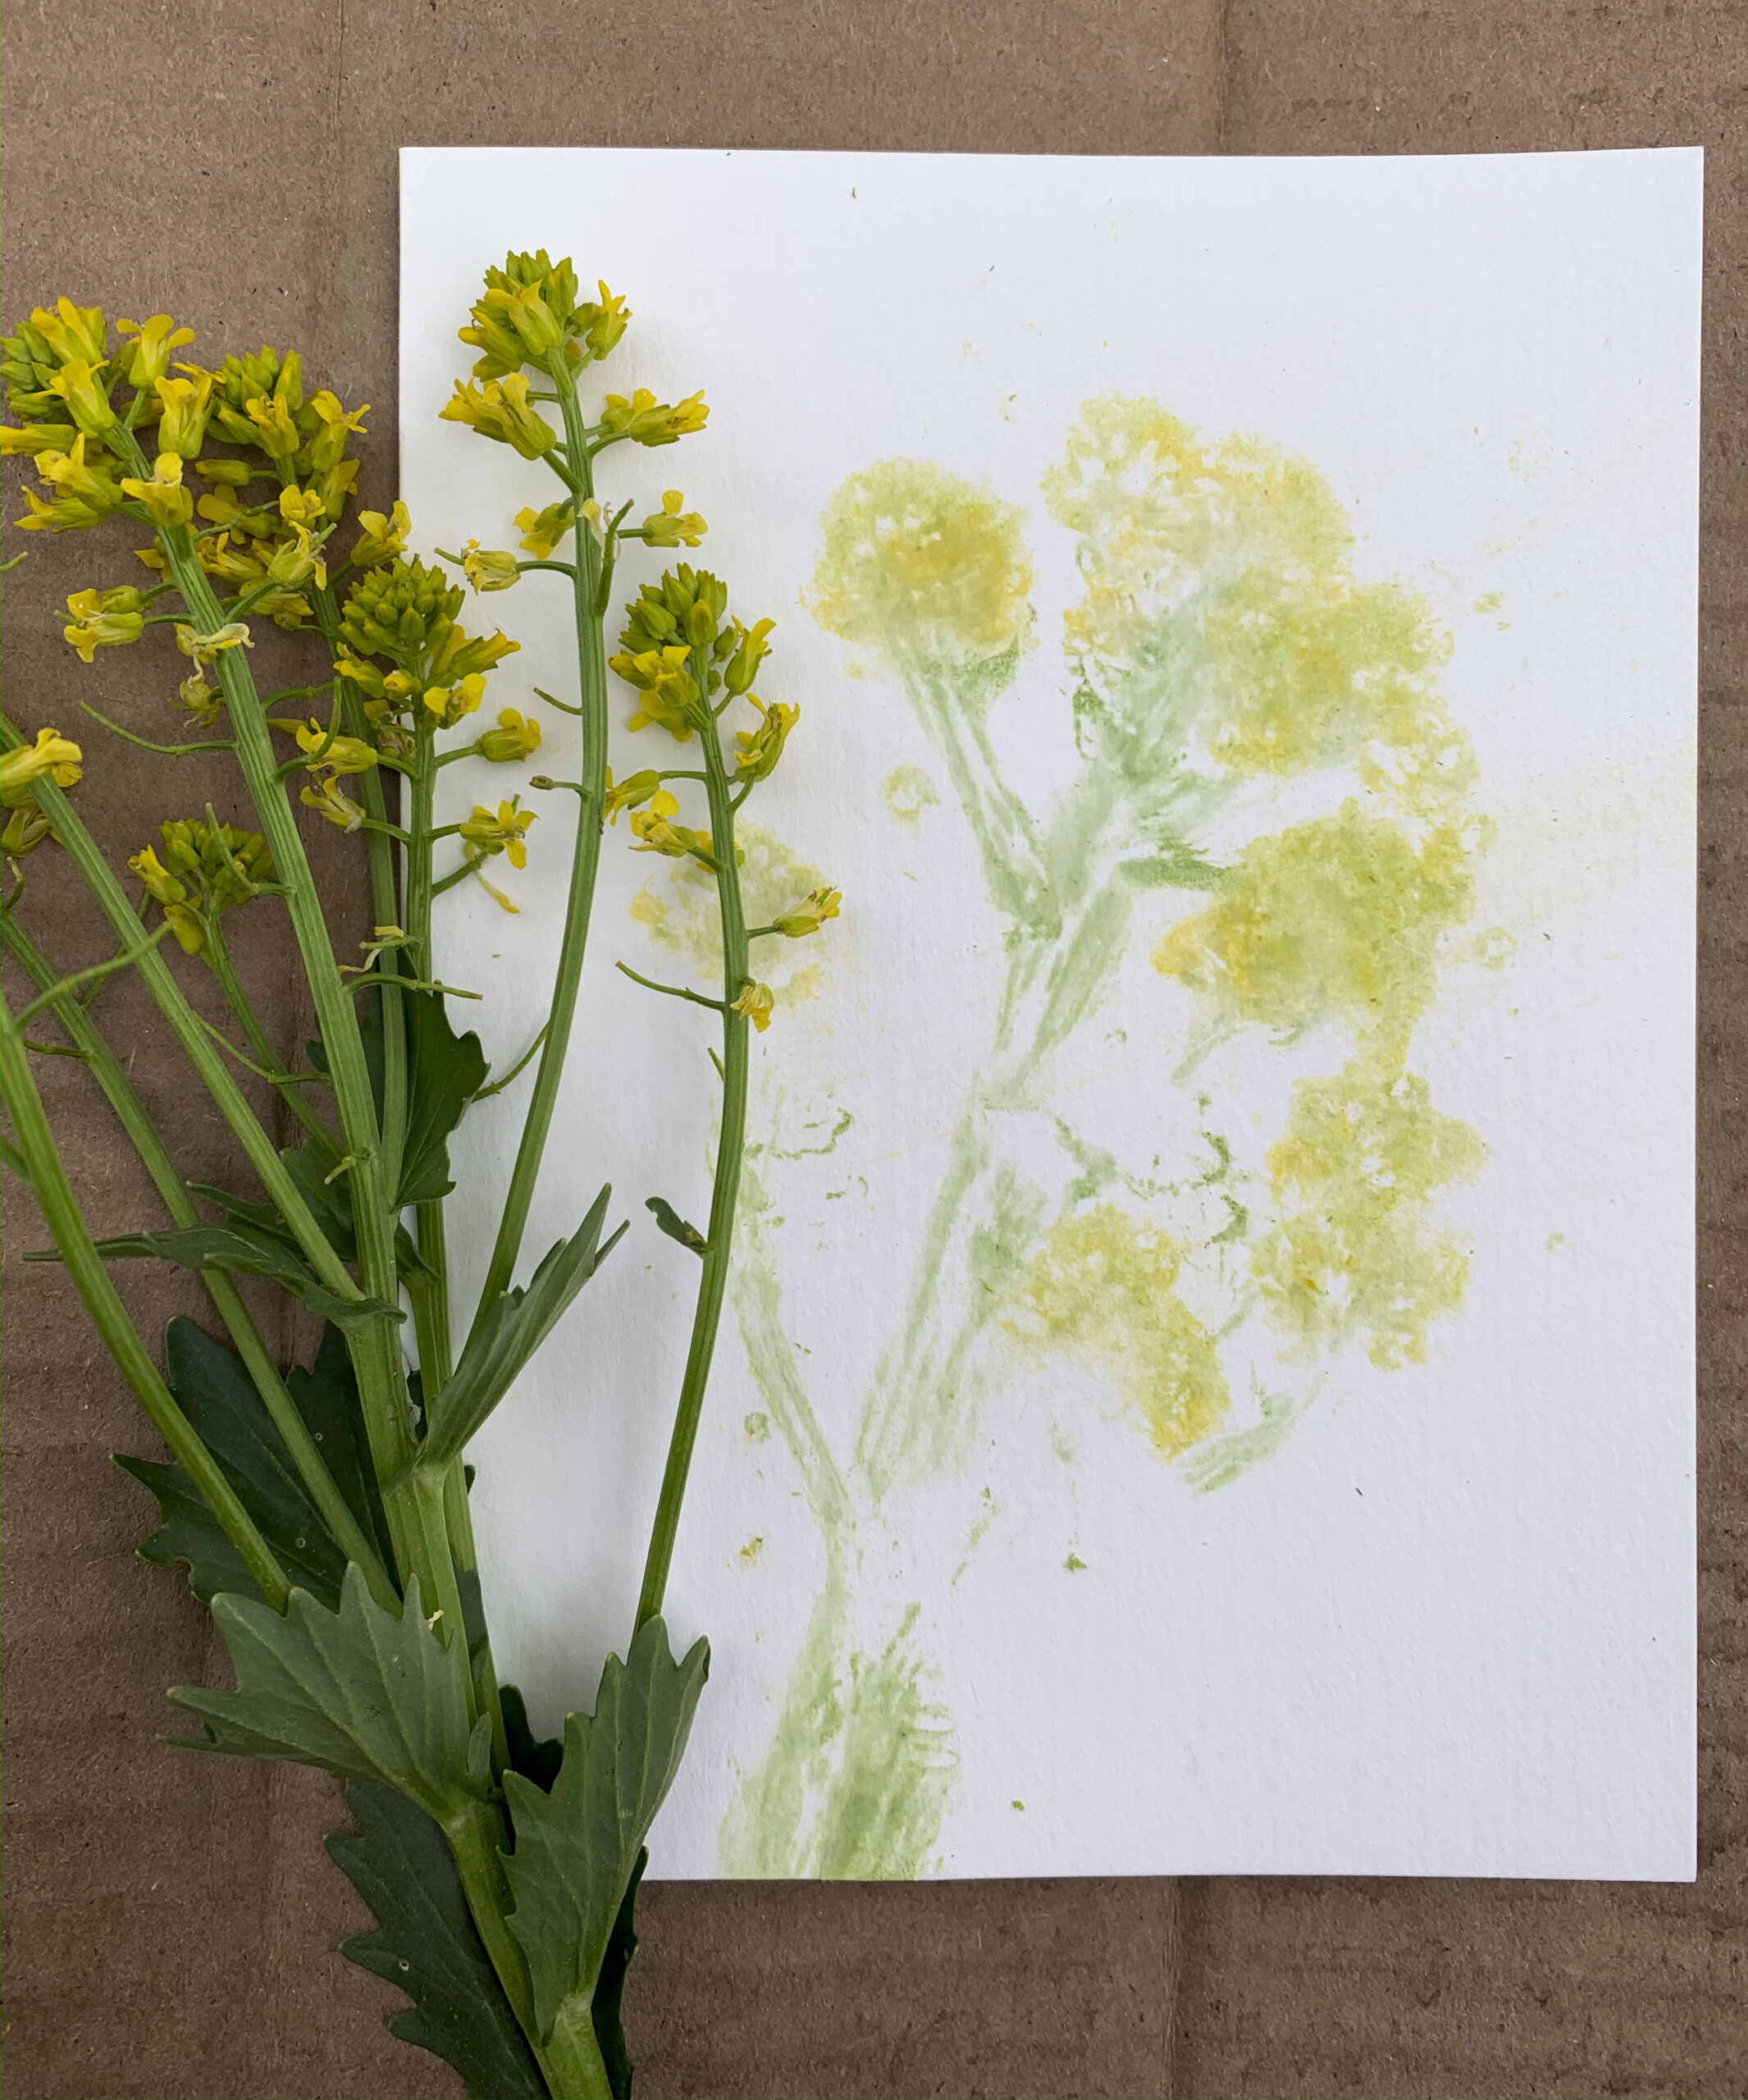
Eco-printing means to transfer color from nature to other materials — for example, dying fabric with plants or creating prints of flowers on paper. While creating dye pots can be an involved process with heat and fixative additives, another method of eco-printing can be a fun for all ages activity.
To eco-print on paper or fabric, you will need:
- Flowers and leaves
- Paper (watercolor works well to absorb and retain color) or fabric (choose a light color and natural fibers)
- Masking tape
- Paper towel
- Hammer
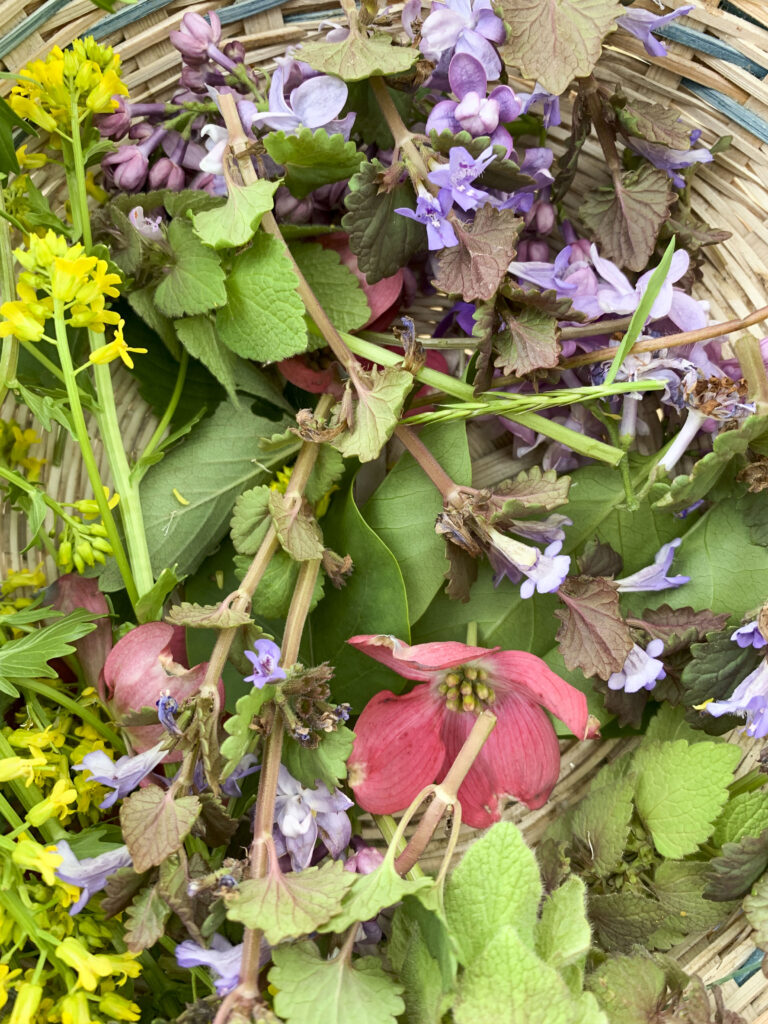
To start the process, take a walk and gather some flowers and leaves. Be careful not to harvest too many from one area, and if you only see one specimen of a plant, leave it to seed and reproduce.
Flowers such as pink dogwood, violets, dandelions and others with bright colors work well, along with their leaves.
Enjoy this first step, and take some time to identify the flowers growing around you.
Before the flowers wilt, take them back to your work area. Place your fabric or paper on a clean surface such as a piece of cardboard. Play around with how you want your flowers arranged. Try different combinations of colors and different layouts.
If using fabric, use masking tape to secure flowers in place. If using paper, place a paper towel or another sheet of paper on top and carefully hold it in place so the flowers cannot scoot around.
Test flowers you gathered on your chosen medium to see which flowers print well — some may come out brown or without definition. Prepare small swatches or use an extra test sheet of paper before working on your final project.
To transfer the natural color to your paper or fabric, hammer the secured flowers and leaves. Hammer each specimen several times. Peek at the edge of your plant materials while working to see how deep the color transfer is. If it isn’t vivid enough, continue to hammer thoroughly.
The hammer may leave dents on the paper, so consider wrapping it in a folded rag to soften the edges to prevent unwanted marks.
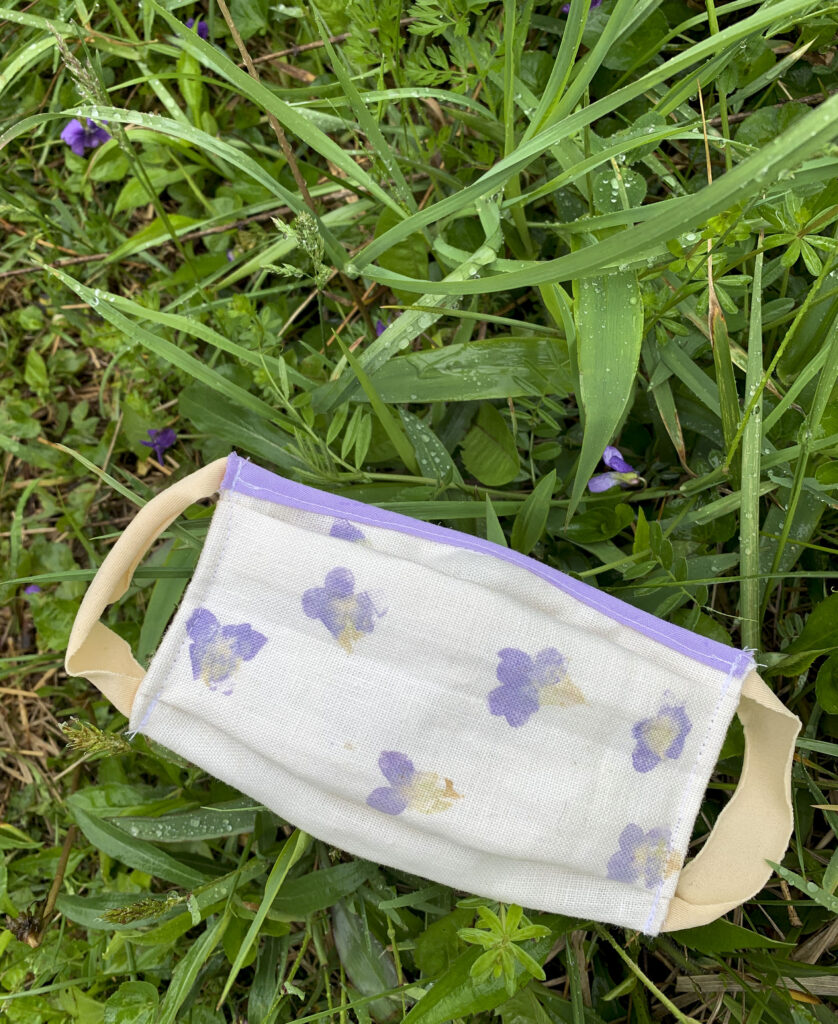
Use this type of eco-printing to create special greeting cards, wall art or to decorate any fabric project by adding a botanical print. Eco-print on your tea or coffee pot cozy from last week, on fabric to make in a mask for yourself or your kiddo, quilt squares or apparel fabric or on ready-to-wear items such as t-shirts.
If printing on fabric, launder it well. Use vinegar on silk and washing soda for linen or cotton. Printing on damp fabric and with damp flowers works best. Eco-prints are not permanent and tend to fade with time. To make them last longer, press with hot iron after printing and drying fabric.
You can make these or other eco-printing projects with your mom or your kiddos to make today or the whole summer botanical and creative.
TWEET @DominionPostWV


