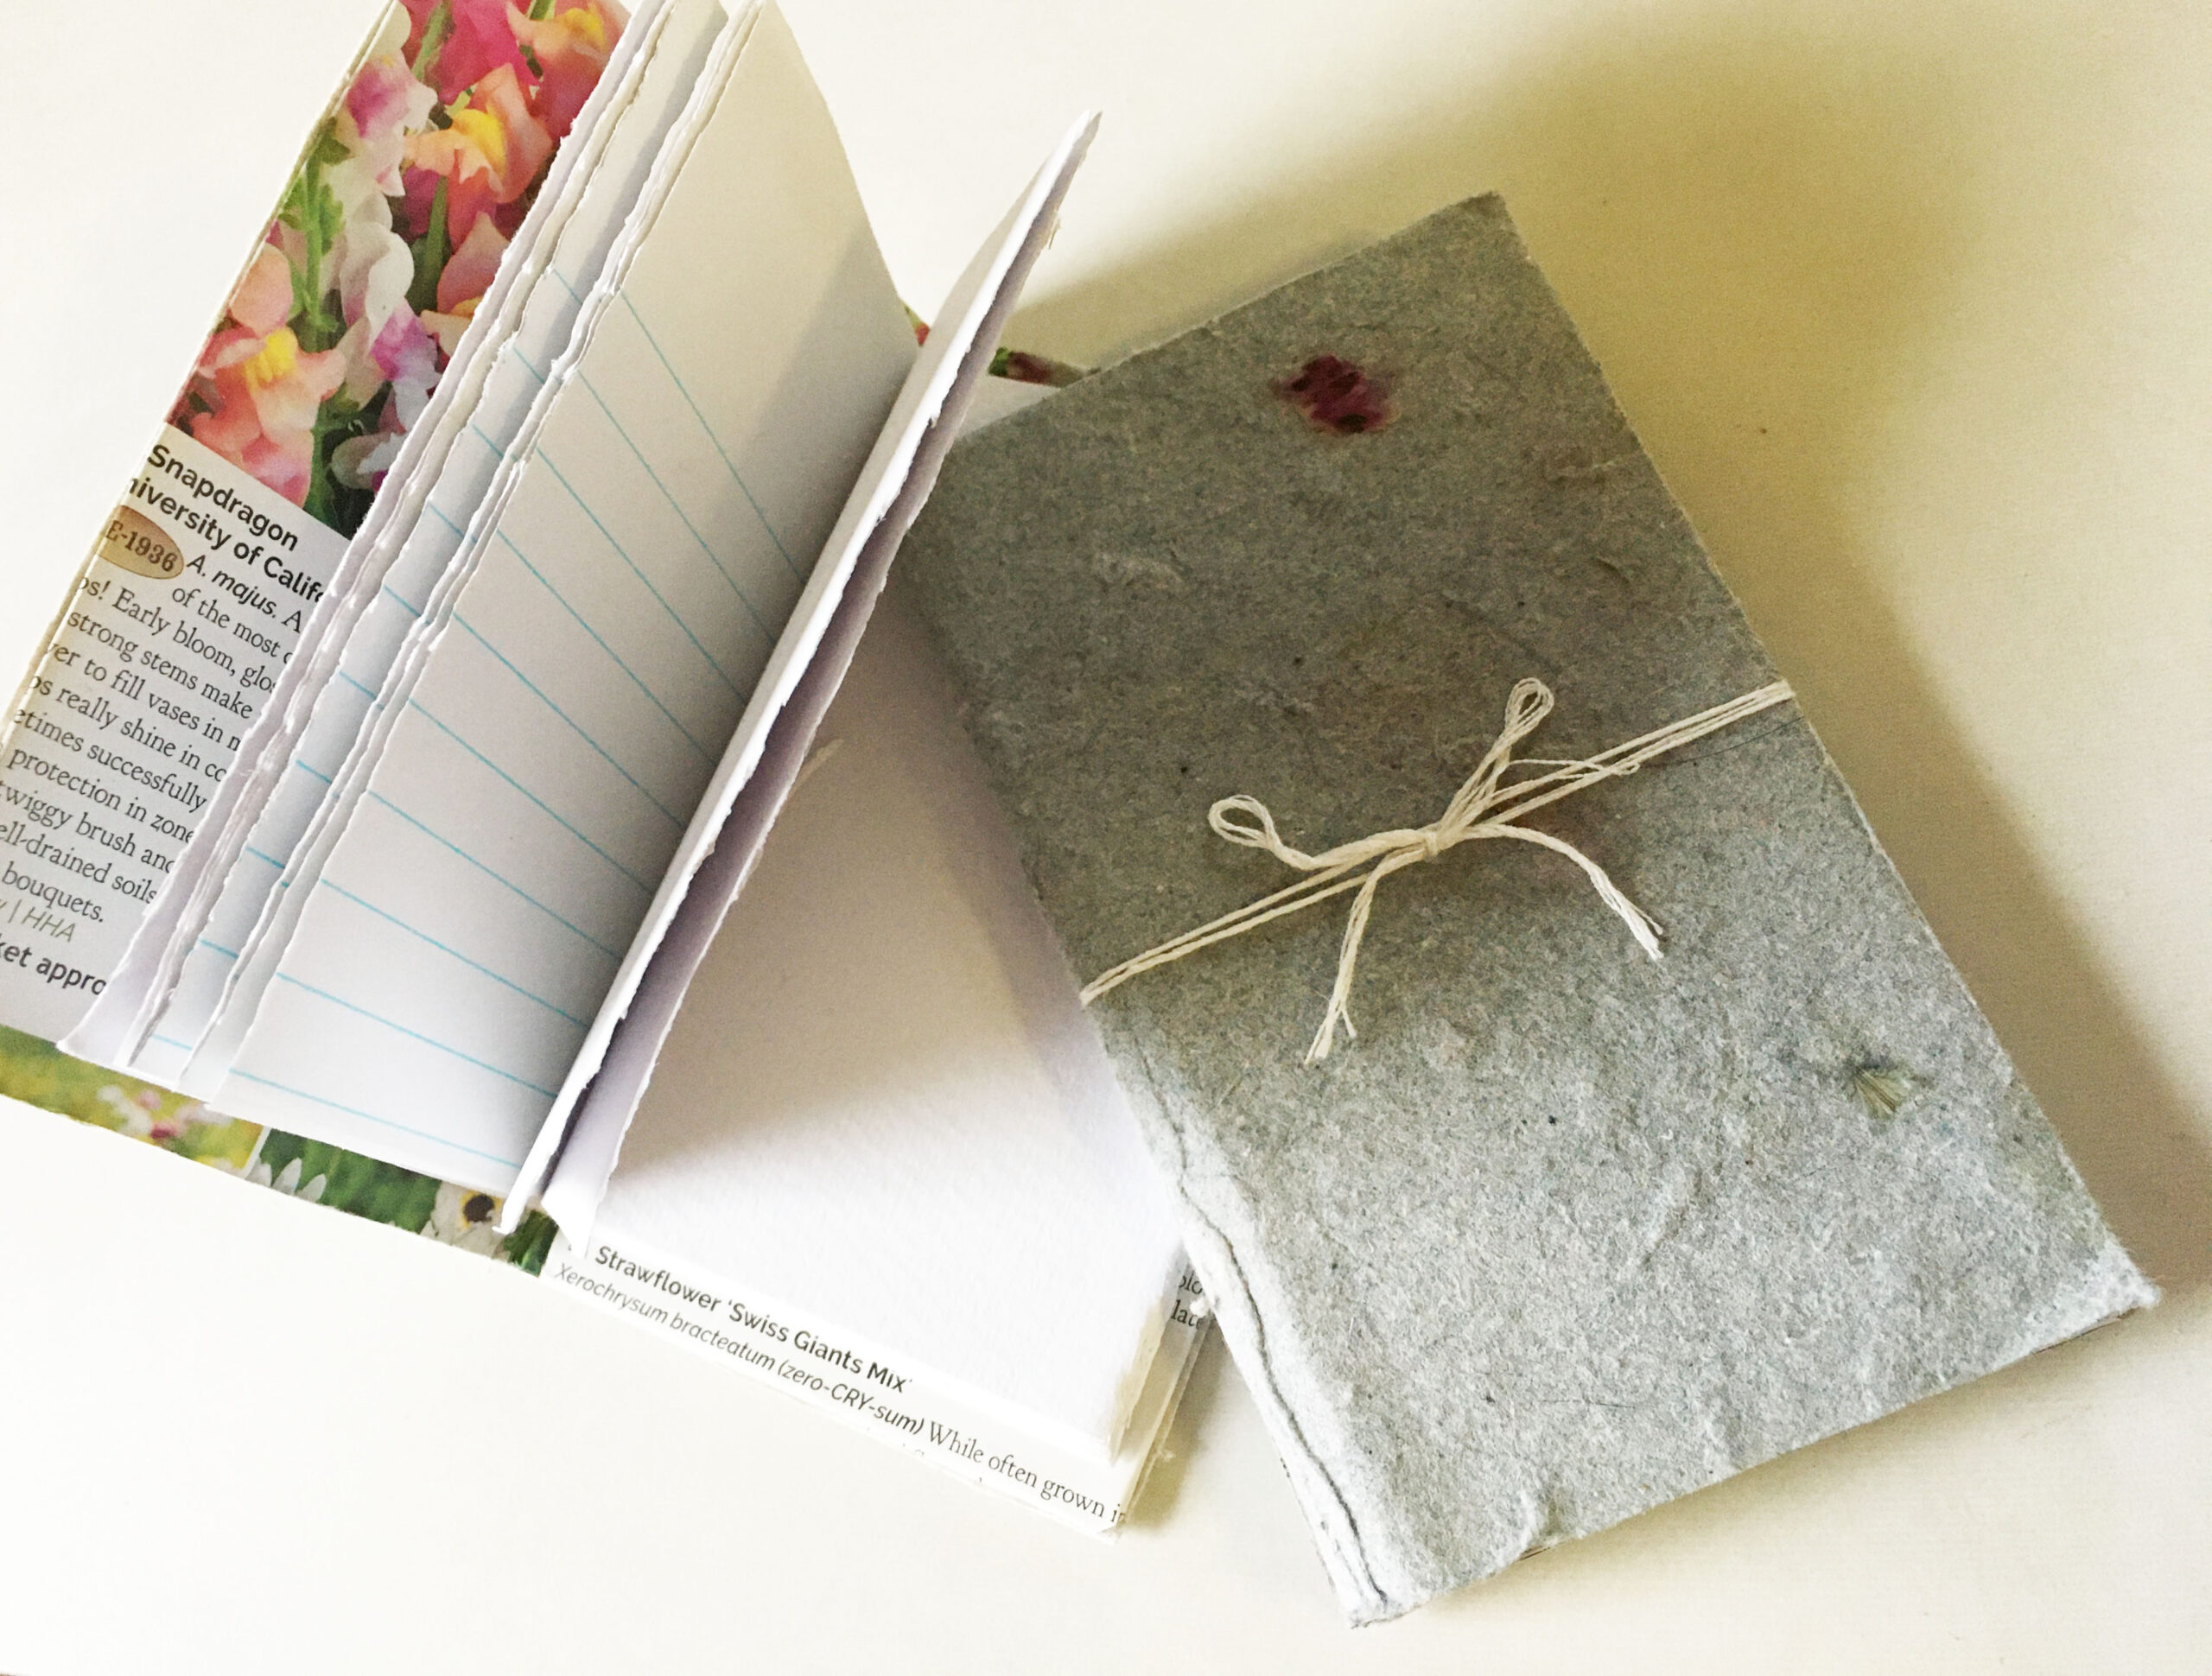
Create a DIY journal with scrap and left over paper to catalog your resolutions
By ALDONA BIRD
Newsroom@DominionPost.com

Winter is the time to hunker down and do some crafting. It is also a great time to set up habits you want to maintain throughout the year. If upcycling, or keeping a diary, notes or sketchbook are habits you’re starting or continuing this year, make a DIY journal.
Making your own journal could use up scrap material as well as create a customized notebook just to your specifications.
This project is completely customizable. You can use a variety of materials and assembly techniques. Today’s DIY will get you started with a simple journal, and you can use it as a jumping-off point to learn different binding and decorating methods.
To make a DIY journal, you’ll need:
- A variety of paper
- Cardboard
- Glue stick
- Large needle and embroidery thread
- Scissors and paper cutter (optional)
- Binder clips

Gather your paper. You can use printer paper, watercolor paper, brown paper from grocery bags, scrap paper from junk mail, calendar pages, etc. Creating a mix will give more character to your journal.
Choose papers for the inner and outer covers of your journal. Consider using magazine pages, or homemade paper.
Cut cardboard to the desired size of your notebook — it should be large enough for both covers and the spine, as you will fold it in half to make the covers.
Trace the size of your cardboard onto your papers, and cut them out in roughly the same size (slightly smaller works as well). Using a paper cutter can make this step simple, as you can easily cut several pages at once.
Whether using a paper cutter or scissors, use binder clips to keep multiple pages together so they don’t slip out of place while you are cutting them.
Stack your pages. Alternating types of paper when stacking will result in the pages of your journal being varied, rather than sections of types of paper. Fold the stack in half, and set aside.

Glue the paper you chose for the inside cover to the cardboard. Cut the paper slightly larger than the cardboard. Trim the corners on a diagonal, so you can fold the edges over without having to fold paper at the corners.
Fold the edges over and glue to the front of the cardboard.
Fold the cardboard in half, making the shape of your book, with the inner cover inside.

Insert the folded pages into the cover. Using binder clips, secure the pages and cover together on each side, so center creases from folding align.
Punch at least four holes through the pages and cover, with your large needle, along the center crease. Using a full strand (six threads) of embroidery floss, bind the pages together and to the journal. Creating a double loop through the holes and tying the ends together is a secure method, but you can try different configurations.
Once your journal is bound, close it and secure and the top and bottom with binder clips. If the pages stick out beyond the cover, carefully trim them.
Finally, apply the paper you chose for the outer cover. Glue it securely, and trim precisely to match the size of the cover.
You can incorporate fabrics, pressed flowers, paint, ink or other materials into your journals.
The last step is to fill your journal — keep notes on daily events, project tracking, dreams you’d like to remember, lists or sketches and paintings. They also make great gifts.
Tweet @DominionPostWV


